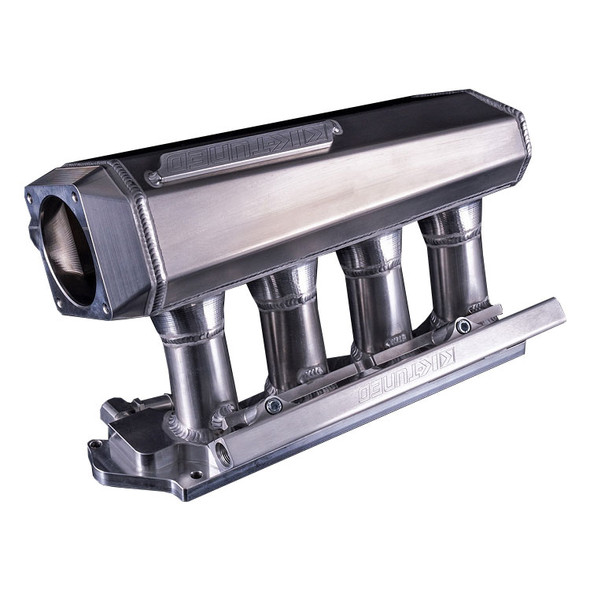
K-Tuned
K-Tuned K24 Intake Manifold Coolant Adapter
4.9 Store Rating ⭐⭐⭐⭐⭐
✅ FAST + Free Shipping over $199.
✅ Package Loss, Damage available.
✅ Earn Cashback on every order $$$.
✅ Buy Now Pay Later Klarna, Afterpay.
✅ Google Trusted Store.
✅ 146K Followers on IG & FB.

- SKU:
- KTD-K24-IM2
- Shipping:
- Calculated at Checkout
Description
K-Tuned K24 Intake Manifold Coolant Adapter
The K24 Intake Manifold Adapter is a simple and easy way to install K20 style manifold on K24 heads. The recirculation fitting on K24s is typically part of the intake manifold which isn’t on K20 intake manifolds. We have designed the adapter to work with all K24 heads including the K24Z-Series (R40) heads. This can also be used to install K20 manifolds or cut RBC manifolds on 9th gen Civic si as the water bypass is slightly different and you will not need an intake manifold adapter when using the adapter. The adapter lowers intake air temps as coolant is no longer connected the intake manifold. Hondata has shown that intake air density will drop 1% for every 5°F increase in intake temperature. This is wasted power that can easily be gained back by using the adapter. The adapter also features a 1/8 NPT port for a coolant temp sensor commonly used in swap cars. The Intake Manifold Adapter can be installed either using our spring loaded tab or by tapping the head. We use Honda Bond or similar gasket maker as it provides a strong seal and when using the spring loaded tab when the adapter isn’t under pressure there will be no chance of leak. The spring loaded tab holds the adapter down with constant spring pressure to ensure a tight fit and seal. The other option is using the provided blind hole you can easily tap the head for the second hole. Tapping the head will require a 6.5mm drill bit (to finish the blind hole in the adapter), 5mm drill bit (to drill the head), and M6x1.0 Tap.
Compatibility:
- Fits all K24 engines, including K24Z-Series (R40) heads.
- Allows installation of K20-style intake manifolds onto K24 heads.
- Ideal for 9th Gen Civic Si when using cut RBC manifolds, as it eliminates the need for a separate intake manifold adapter.
Key Benefits:
- Lower Intake Air Temperatures – The adapter eliminates the coolant connection to the intake manifold, reducing intake air temps.
- Prevents Power Loss – Hondata testing shows intake air density drops 1% for every 5°F increase in intake temperature. This adapter helps reclaim that lost power.
- Integrated 1/8 NPT Port – Allows installation of a coolant temp sensor, commonly used in engine swaps.
Important Installation Note:
Do NOT install a gasket between the cylinder head and the adapter. The adapter must be mounted directly to the head.
For full instructions, Click Here.
Installation Methods
The adapter can be installed using one of two methods:
1. Spring-Loaded Tab (Recommended)
- Uses a spring-loaded tab to apply constant pressure, ensuring a tight seal.
- Prevents leaks when the adapter isn’t under pressure.
- Requires Honda Bond or a similar gasket maker for a strong seal.
2. Drilling & Tapping the Head
- Uses a blind hole in the adapter to secure it with an additional bolt.
- Requires drilling and tapping the head.
Quick Installation Guide
Required Tools:
- Drill
- 6.5mm (1/4”) drill bit – For finishing the blind hole in the adapter.
- 5mm (13/64”) drill bit – For drilling the cylinder head.
- M6x1.0 Tap (Standard & Bottoming) – To create threads for securing the adapter.
Step-by-Step Instructions:
-
Prepare the Adapter:
- Use a 6.5mm or 1/4” drill bit to finish the blind hole in the adapter.
-
Position the Adapter:
- Install the intake manifold and adapter onto the head to mark the drilling location.
-
Drill the Cylinder Head:
- Remove the manifold and adapter.
- Cover or tape off intake and coolant ports to prevent debris from entering.
- Use a 5mm or 13/64” drill bit to drill a hole 11-14mm deep.
- Tip: Wrap tape around the drill bit as a depth guide to prevent drilling too deep.
-
Tap the Hole:
- Slowly thread the hole using an M6x1.0 tap with lubricant.
- Start with a standard tap, then finish with a bottoming tap to maximize thread depth.
- Check fitment often to avoid over-tapping. The adapter should fit snugly.
Featured reviews
from reviews1 Review
-
K-Tuned K24 Intake Manifold Coolant...
K-Tuned K24 Intake Manifold Coolant Adapter


